How to Clean a Laptop Keyboard - 2021 Guide
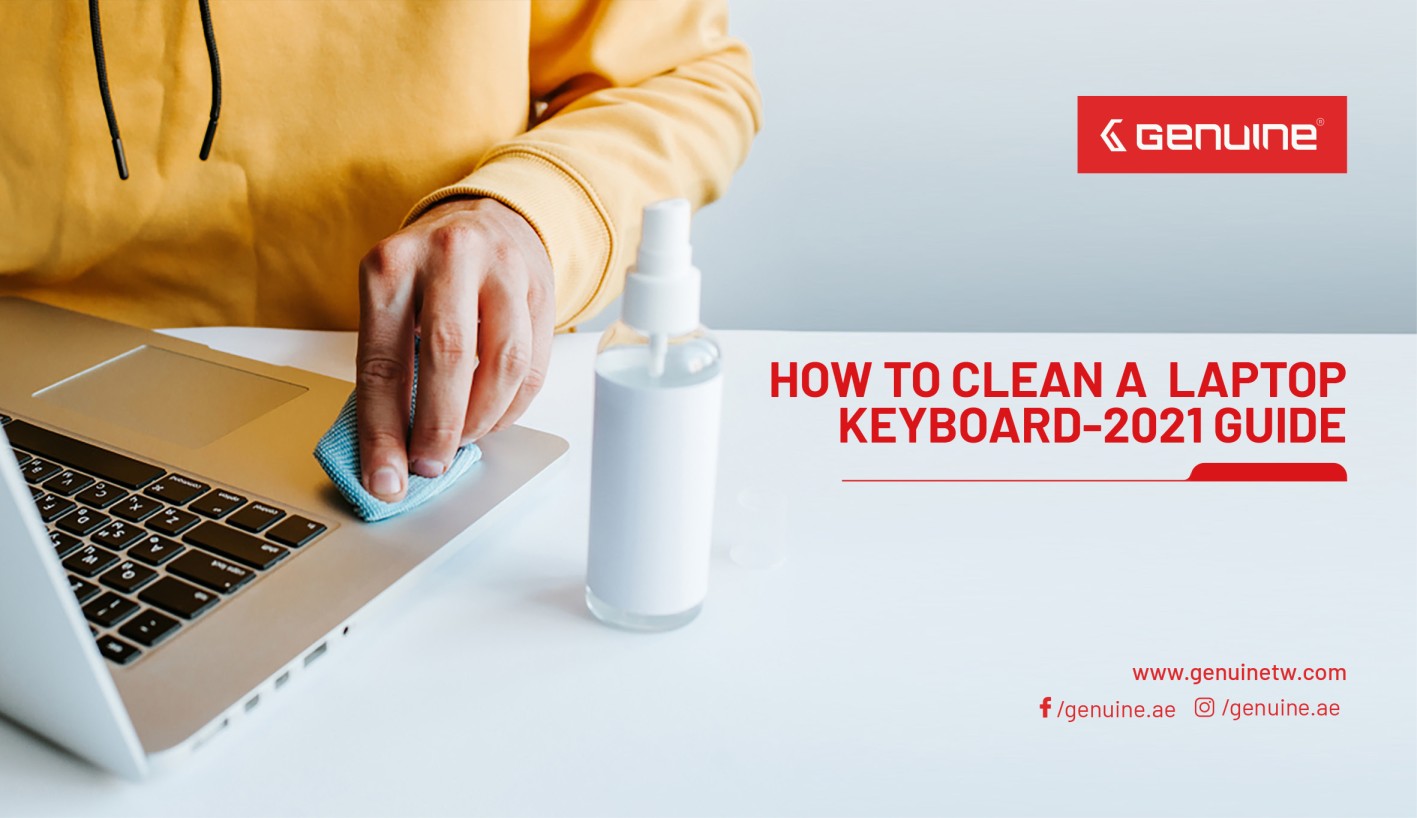
A good time to clean beneath the keys might be if you spilled something sticky or if there are large crumbs trapped beneath the keys that you can't get out by shaking or with compressed air
Removing the Keys
Step 1
Search for your laptop model online to find out if the keys come off. On some laptop models, the keycaps can be gently pried off, giving you access to the surface beneath the keys. However, the keycaps on some laptops are permanently attached. Do an online search to determine if, and how, the keys can be removed.
Step 2
Remove the keys only if you really need to clean underneath them. Even if they're removable, keycaps are held in place by small plastic tabs that can break easily. To avoid damaging one’s keyboard, one should avoid removing one’s keys unless one’s keyboard is especially grimy
Note: A good time to clean beneath the keys might be if you spilled something sticky or if there are large crumbs trapped beneath the keys that you can't get out by shaking or with compressed air.
Step 3
Take a picture of the keys before you remove them. This will ensure one doesn’t forget where the keys go when it's time to put them back! While it might be simple to remember the order of the number and letter keys, your keyboard likely has special characters and function keys, and it can be easy to get these confused.
Step 4
Pry off the keys with a small, flat tool. Slip the edge of the tool beneath the bottom of the key and gently pry upwards. The keycap should pop off easily. If it doesn't, don't force it, or you might permanently damage your keyboard.
- Be sure to place the keycaps in a shallow bowl or another container so you don't accidentally lose them
- You can purchase a toolkit from an electronics supply store that comes equipped with small plastic or metal pieces that are perfect for slipping beneath your laptop keys. If you don't have one of these, you can use a flathead screwdriver, a butter knife, or even your fingernail.
Step 5
Wipe beneath the keys with a microfiber cloth or a cotton swab dipped in alcohol. Since the inner workings of your laptop will be more exposed without the keycap in place, avoid using any liquid to clean under your keys. If you do have to tackle a sticky mess, dip a cotton swab in a little rubbing alcohol and carefully wipe away the spot.
Step 6
Replace the keycaps. Place each keycap over its designated space, making sure the sides are properly aligned. Starting with the bottom edge, gently press the key down until you feel it pop into place.
Note: If the key doesn't go back on by pressing it back into place, you may need to read the instruction manual for your laptop to see if there are any special instructions for key replacement.