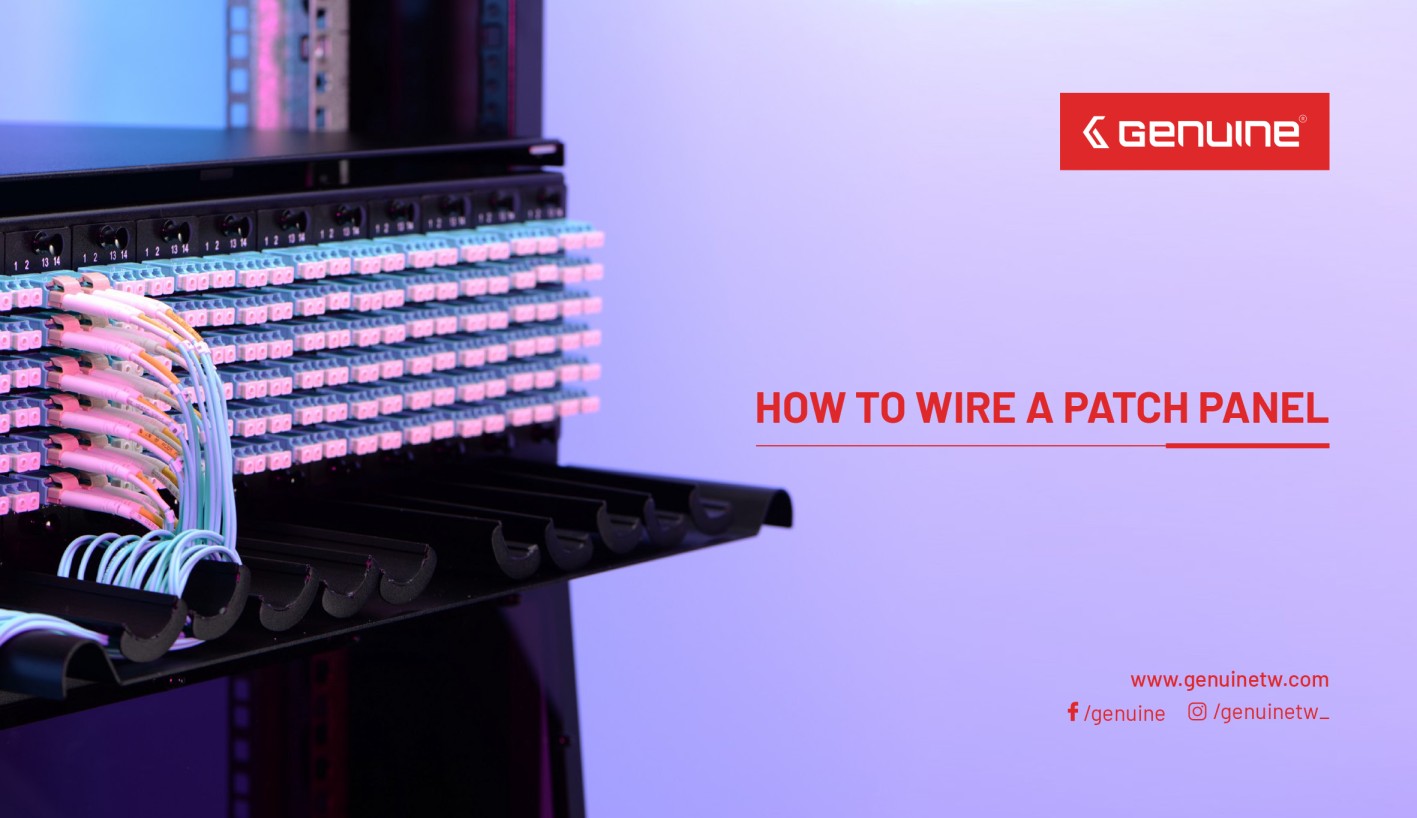
How to Wire a Patch Panel
If you have not heard of the term before, patch panels are commonly used in computer networking, recording studios, and radio and television.
Patch panels can be quite small, with just a few ports, or very large, with many hundreds of ports. The multiple ports in the hardware help to organize a group of cables. Each of these ports contains a wire that goes to a different location.
The term patch comes from early use in telephony and radio studios, where extra equipment kept on standby could be temporarily substituted for failed devices. This reconnection was done via patch cords and patch panels, like the jack fields of cord-type telephone switchboards.
This device or unit with a number of similar and dissimilar jacks can be used for connecting and routing circuits for monitoring, interconnecting, and testing circuits in a convenient, flexible manner. They can also be set up for fiber optic cables, cat5 cables, RJ45 cables, and many others.
In recording studios, television and radio broadcast studios, and concert sound reinforcement systems, patchbays are widely used to facilitate the connection of different devices, such as microphones, electric or electronic instruments, recording gear, amplifiers, or broadcasting equipment. Patchbays make it easier to connect different devices in different orders for different projects, because all of the changes can be made at the patchbay.
Additionally, patchbays make it easier to troubleshoot problems such as ground loops. Since it groups all input jacks at one location, even small home studios and amateur project studios often use patchbays. This means that devices mounted in racks or keyboard instruments can be connected without having to hunt around behind the rack or instrument with a flashlight for the right jack. Using a patchbay also saves wear and tear on the input jacks of studio gear and instruments, because all of the connections are made with the patchbay.
Patch panels are being used more prevalently in domestic installations, owing to the popularity of "Structured Wiring" installs. They are also now used in home theatre installations too.
Buy a patch panel
When buying the patch panel, you must definitely ensure it has a 110-style insulation displacement connectors, Similarly, make sure that there are enough patch connectors that can fit the Ethernet cables. Be sure to conduct a little research so that you can buy the right patch panel.
Design a cable map
Cable map will be the only guide indicating to which panel connector a particular incoming cable is connected. Remember, there could be a need for system upgrades changes in future, so prepare the right map and label the patch panels accurately for this as well as problem diagnosis.
Remove cable jackets from incoming Ethernet cables
Cable jackets must be removed from the incoming Ethernet cables, and this is best done with the help of wire strippers. Cut the jacket approximately 1.5 inches from the cable, remove and discard it. Wire strippers are also available in hardware and electrical stores.
Remove internal plastic jackets (if any)
Sometimes you will be handling Cat6 type incoming Ethernet cables. These often come with an internal plastic jacket, which too should be removed. Use wire cutters in this operation and exercise absolute care. If you are using Cat5e incoming cables, however, you will not be required to undertake this step.
Untwist and spread the cable wires
Inside the Ethernet cables, you will find four pairs of twisted wires. Unwind these wires, but be careful not to mix them up. Four of the wires have solid colors while the rest have a strip of white alongside the solid color.
Set your wires to the panel connector
Each of the wires should then be set to the patch panel. The connector pins are fitted with labels containing color codes, which should guide you in selecting the type of wire that goes to a particular connector.
Complete your connections
Using a patch panel punch down tool, press each of the wires down firmly. This ensures that the wire is held in place by the insulation connector teeth. If this tool has a cutting edge, place it over the cut end of your Ethernet cables to cut off any extra wire while pressing. If it lacks the cutting edge, on the other hand, use your wire cutter to remove the excess wires that are spread over the edges of your connector.
Shop for computer accessories at Genuine in uae
